Match monitors to risk: pick devices that change care, not clutter the countertop.
An elderly parent on oxygen, a working caregiver, and a child with diabetes make the typical household — and a magnet for gadget overload. Marketing pushes oximeters, smart scales, wearables and cameras; the real question is which devices will change care or prevent harm. Prioritize monitors addressing highest risks (falls, breathing, glucose, arrhythmia), with actionable alerts and published accuracy. Prefer one reliable device per critical domain; battery life, automatic uploads and clear thresholds matter more than extra bells.
- SpO2 <92% — medical evaluation.
- BP: systolic >180 or <90 mmHg — urgent.
- Glucose <70 or >300 mg/dL — immediate action.
Core kit: what to buy first
Prioritized core kit
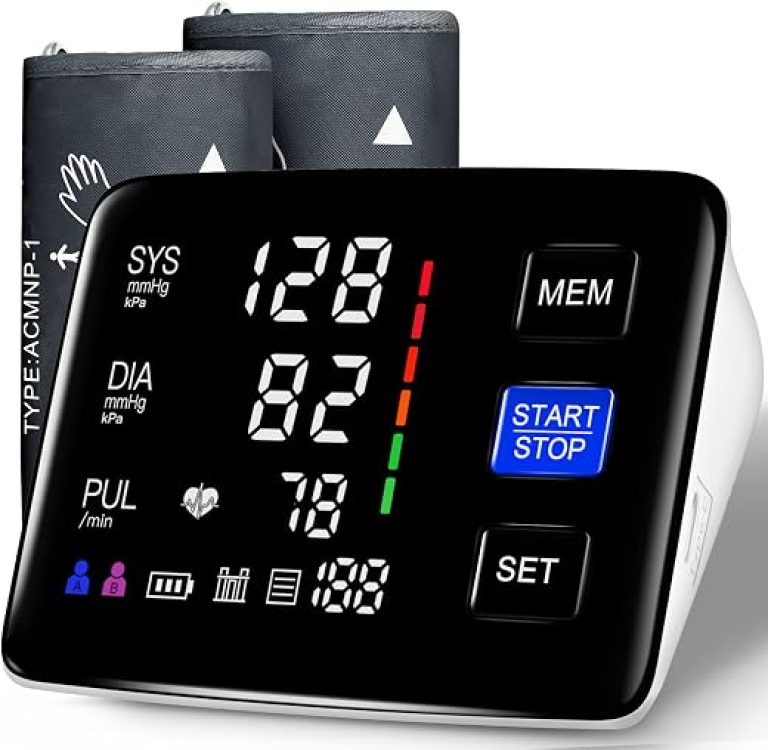
- Automatic blood pressure monitor (upper-arm, validated cuff). Essential first buy for households with hypertension, post-stroke recovery, or family history of heart disease — typically adults 50+, anyone on antihypertensives, or caregiver-monitored seniors. Buy first if high blood pressure is the main risk because BP control changes immediate treatment and medication decisions.
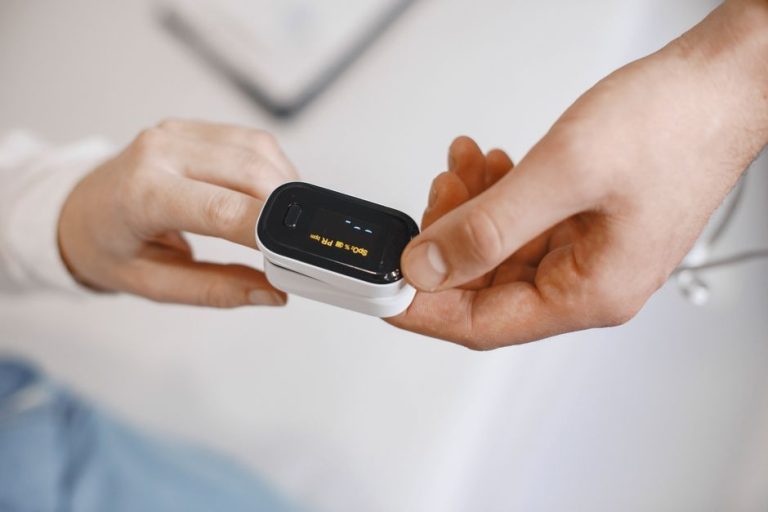
- Pulse oximeter (hospital-grade accuracy). Important for people with COPD, heart failure, or recent respiratory infection; ideal when a caregiver tracks oxygen drops. Purchase early in households with lung or cardiac conditions where low SpO2 requires rapid response.
- Smart scale that shares readings with family. Valuable for heart-failure patients, weight‑management after bariatric surgery, or elderly relatives monitored remotely. Choose this when weight trends trigger clinical interventions; link devices to caregivers via apps and cloud sharing: scale that shares readings with family.
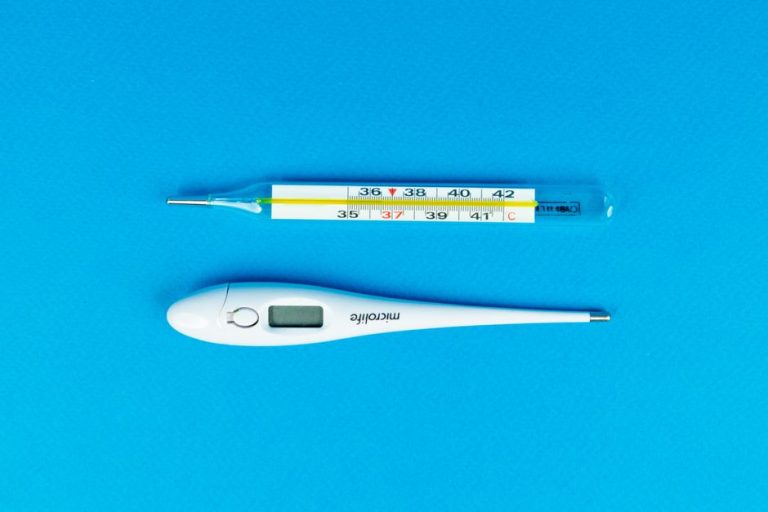
- Digital oral/temporal thermometer. Must-have for homes with infants, immunocompromised members, or post-operative recovery. Buy immediately where fever is an early danger sign.
- Glucometer or continuous glucose monitor (CGM). Critical for type 1 and insulin‑dependent type 2 diabetes. Prioritize when insulin dosing depends on home readings.
- Personal emergency response system (fall detector). Essential for frail seniors living alone or primary caregivers who cannot be onsite. Opt for models with automatic fall detection and two-way voice.
When budget or attention is limited, start with the single device addressing the household’s highest immediate risk.
How common home monitors actually measure the body
Temperature
Digital oral/rectal thermometers measure conductive heat from mucous membranes; tympanic and temporal infrared devices measure radiant heat from the ear drum or forehead skin. Systematic differences: infrared forehead readers can read lower or more variable than oral/rectal values, especially in cold or sweaty skin. Common interferences: earwax or incorrect probe placement for tympanic, recent drinking or mouth breathing for oral. For reliable trends, use the same site and device type.
Pulse oximeters
Finger pulse oximeters detect pulsatile changes in light absorption at two wavelengths to estimate arterial oxygen saturation (SpO2). They report percentage of hemoglobin saturated with oxygen, not oxygen content. Interferences include poor perfusion, motion, dark nail polish, bright ambient light, and abnormal hemoglobins (carboxyhemoglobin raises readings falsely). Low perfusion or arrhythmia can make values unreadable or inaccurate.
Oscillometric blood pressure cuffs
Automatic cuffs detect cuff pressure oscillations caused by arterial wall motion as the cuff deflates and use algorithms to estimate systolic and diastolic pressures. In people with arrhythmias, very stiff arteries, obesity, or incorrect cuff size the device can misestimate pressures. When numbers are unexpected, confirm with a manual auscultatory reading or repeat with correct cuff sizing.
Fingerstick glucose and CGM
Fingerstick meters measure glucose in capillary blood using enzymatic electrochemical reactions; results reflect current capillary glucose and can be affected by poor sampling technique, substances like vitamin C, or some interfering sugars depending on the test chemistry.
Continuous glucose monitors (CGMs) measure glucose in interstitial fluid under the skin via an enzymatic sensor and report values that typically lag blood glucose by 5–20 minutes and may read systematically different during rapid changes. For practical guidance comparing the two approaches, see whether continuous monitoring suits a household.
Practical rule: note the method with every reading, repeat surprising values with an alternate technology, and favor consistent devices when tracking trends.
How recommendations were tested and validated
Recommendations rest on clinical benchmarks, controlled bench checks, and repeatability under real‑world stressors to estimate practical accuracy and reliability. Confidence levels were assigned based on conformity to recognized standards and how devices performed in repeated, varied conditions.
-
Standards and clinical comparators
Devices were checked against applicable standards (eg, ISO/AAMI/IEC family and FDA guidance) and against clinical reference methods — auscultatory/validated sphygmomanometers for blood pressure, arterial/blood‑gas or hospital oximeters for SpO2, and calibrated thermometry for temperature.
-
Repeatability and stress testing
Each device underwent multiple back‑to‑back measurements, battery‑life cycles, and stressors such as motion, varied ambient temperatures, and different skin tones or body habitus to reveal systematic bias and variability.
-
Practical home verification
Simple checks recommended: compare one reading with a clinic measurement, take three consecutive readings for consistency, verify proper fit/placement (cuff, probe, mouth/ear), and monitor battery/alert function.
Device-specific red/green rules
-
Blood pressure monitor (upper‑arm)Choose an upper‑arm device with clinical validation and a cuff that fits 80% of the arm circumference; if arms are large, consult guidance on sizing for larger arms before buying. Prefer FDA‑cleared models with memory and clear thresholds to reduce user error.Look forClinically validated, FDA‑cleared device with correct cuff sizeAvoidSmall universal cuffs or wrist devices without validation
-
Pulse oximeterPick a unit tested for accuracy at lower saturations and with a visible plethysmographic waveform; battery life and correct probe fit matter for frequent use. Avoid cheap fingertip units that report stable but unverified readings, especially for darker skin tones or during motion.Look forValidated performance at SpO2 <90% and a clear pleth displayAvoidUnvalidated, single‑LED cheap models with no accuracy data
-
Blood glucose meterSelect meters that use widely available test strips, meet ISO 15197 accuracy, and have easy strip insertion plus clear coding (or no coding). Prioritize strip availability and low per‑test cost over extra features like Bluetooth if budget is limited.Look forISO‑compliant accuracy and reliable, available stripsAvoidObscure strips, high per‑test cost, or meters without accuracy specs
-
Thermometer (home)Use a digital oral/temporal or tympanic device with ±0.3°C accuracy and clear placement instructions; validate once with a clinical thermometer if fever management is critical. Avoid crude noncontact models that claim clinical accuracy without published validation.Look for±0.3°C accuracy and repeatable placement guidanceAvoidUnvalidated noncontact gadgets claiming hospital accuracy
Fast troubleshooting Q&A
Why do readings jump or fluctuate?
Re-seat the sensor and remain still for 30–60 seconds. Warm extremities, remove nail polish, and check battery/connection; weak perfusion creates noisy signals. If fluctuations persist, consult the pulse oximeter fluctuation troubleshooting page for stepwise diagnostics.
Why is a home reading different from a clinic measurement?
Different measurement methods, cuff size or arm position, and time-of-day biological variability explain many gaps. Repeat measurements under standardized conditions and compare with a clinic device at the next appointment to confirm bias.
What to do after a sudden very high or very low value?
Repeat the measurement immediately and check for symptoms. If values remain extreme (e.g., systolic BP >180 mmHg, SpO2 <88%, glucose <54 mg/dL or >300 mg/dL) or the person feels unwell, seek urgent medical evaluation.
Thermometer keeps reading low or high — what now?
Verify the correct site and probe placement, avoid measuring within 15 minutes of hot/cold intake, and ensure batteries and contacts are clean. Re-measure; persistent outliers may indicate device failure and need replacement.
Device won't power on or behaves inconsistently — next steps?
Replace or fully charge batteries, clean contact points, and follow the manual to perform a factory reset. If intermittent failures continue or firmware updates are unavailable, replace the device.
Step-by-step verification and red flags for each monitor
-
Blood pressure cuff — position and control check
Sit quietly for 5 minutes, arm supported at heart level, cuff snug over bare skin. Do two readings one minute apart; reproducible values within 5 mmHg confirm basic function. Red flags: large swings (>10 mmHg), frequent cuff error codes, or persistent readings that contradict a clinic sphygmomanometer — replace or recalibrate.
-
Pulse oximeter — technique and lamp test
Warm the hand, remove nail polish, stabilize the finger and avoid motion during measurement. Run a lamp test by checking a healthy adult at rest (expect ≥97%); if displayed saturation jumps or drops with no physiologic reason, sensor or probe alignment likely failed. Red flags: inability to register, flickering values, or consistently low readings with good perfusion.
-
Glucose meter — control solution and strip routine
Use a fresh lot of test strips and the meter’s control solution to verify a known range; repeat twice. If control results fall outside the strip range, stop using that strip lot. If uncertainty persists, consult the step-by-step verification for meter accuracy before replacing the meter.
-
Thermometer — placement and cross‑check
Follow device-specific placement: oral under tongue, tympanic aimed at the eardrum, or temporal sweep technique. Cross-check with a second reliable thermometer; consistent differences >0.5°C (0.9°F) indicate failure. For infant discrepancies, consult the advice for baby thermometers. Red flags: slow response, cracked probe, or impossible physiologic values.
-
Bathroom scale — level test and repeatability
Place the scale on a hard, level surface and weigh a 50–100 kg object (or two people sequentially) three times. Variation >0.5–1 kg between repeats suggests sensor fault. Red flags: nonzero reading with nothing on the scale, large jumps, or inconsistent zeroing — replace the unit.
Common myths and equity limits
Oximeters can overestimate saturation in darker skin or with poor perfusion.
Bias is documented — see the evidence review on oximeter performance in dark skin. Mitigate by choosing models tested across skin tones, repeating checks, and prioritizing symptoms over a lone number.
They reveal trends and flags but are not definitive diagnostic tools.
Pick validated devices with clear thresholds and alerts; arrange clinician follow‑up for abnormal or unclear trends rather than relying on self‑diagnosis.
Accuracy changes with age, motion, cuff size, perfusion, and chronic conditions.
Choose fit‑for‑purpose models (pediatric cuffs, motion‑tolerant sensors), verify performance with simple home checks, and cross‑check with alternate methods when readings conflict.
Decision flow and checklist
- Match devices to the household's highest risks.
- Validate and verify before relying on readings.
- Set explicit alert recipients and clear thresholds immediately after setup.
A compact decision flow turns assessment into action: 1) Assess household risk (age, chronic illness, mobility, recent events, care network). 2) Pick prioritized devices from the core kit that match those risks. 3) Apply the buying checklist — validated accuracy, clinical comparators, alert logic, battery life, connectivity. 4) Verify each device at home with the step‑by‑step checks and repeatability tests. 5) Set clear thresholds and who receives alerts (family, clinician). 6) Plan escalation: when to call, visit urgent care, or dial emergency services.
Record baseline readings, label devices, and review thresholds quarterly; update the device list when health changes. For deeper guidance, consult the device‑specific verification and threshold articles.
Next steps: read the device verification and thresholds & escalation articles for detailed procedures.